

You will need paint, shellac, and some wooden utensils. I picked my paint and utensils up at Walmart and my shellac at the local hardware store.

Step 1: Tape off a line where you want the paint to stop. I used Washi Tape, but you can use any kind of masking tape or painter's tape.
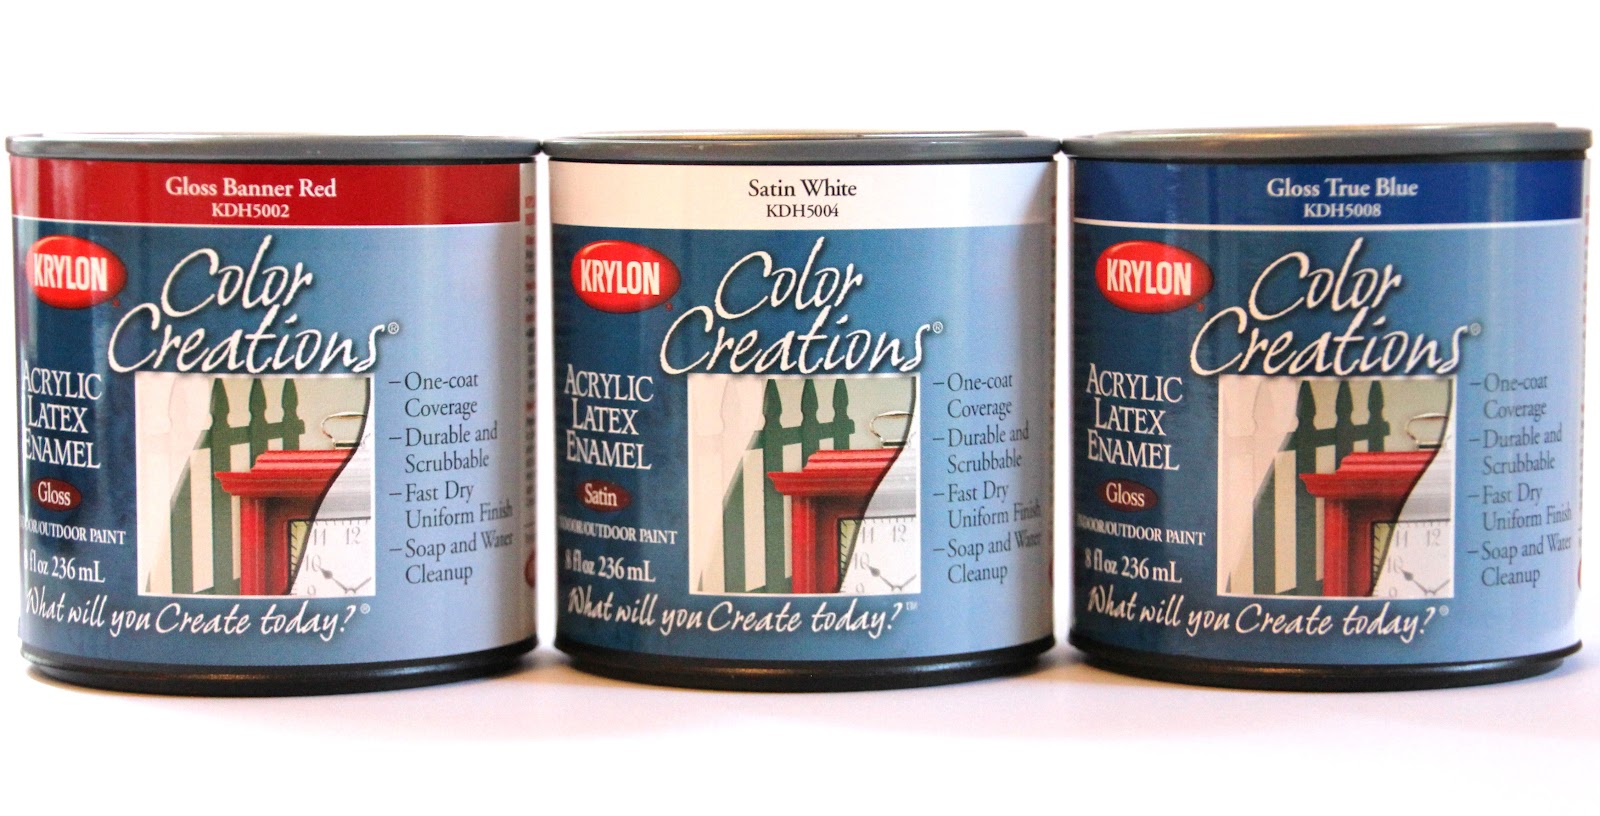
Step 2: Open the paint cans and give the paint a good stirring. Next, pour the paint into something that you can dip the untensils into. If you have a gallon size paint can you can skip this step since it is deep enough to dip into. I just used some vases I had under my sink that I have not used in awhile.

Step 3: This is where it gets a little tricky. I had seen around the Internet where people were brushing on their paint instead of dipping their objects into the paint. Now, I just thought "Why are they doing that? That takes away the whole 'dipping' aspect!". Well, now I know why they did it that way! Once you dip the utensils into the paint, they will drip for a long time. Obviously none of us have time to stand there and hold each utensil for an hour waiting for it to stop dripping! I couldn't figure out how to do this until "Wah-lah!"... it came to me! I pulled out my metal clothes hanger on wheels and hung the untensils out to dry with skirt hangers! This step would be much easier if you were to have a clothesline outside. Unfortunately I do not so I had to improvise. So here is my homemade contraption in action....

Yes, I am aware of how hysterical this is! I'm sure your wondering "Is she just letting that drip onto her floors?". That is where Mr. Hefty comes in!

How pretty! It could totally be like some famous artwork in New York City, couldn't it?!
Step 4: After they stop dripping, give them a second coat of paint. Yes, I said it.
Step 5: After they are dry (which may take a couple of hours depending on your paint) you may or may not have to sand a little bit of extra paint from the bottom of each utensil. Don't worry - I have never sanded anything in my life and I was able to do this with no problems. :)
Step 6: Apply a coat of food safe shellac. Warning: this stuff is very sticky! I had never worked with it before so I was caught off guard. Be glad you were told in advance!


Step 7: Remove the tape and admire your creations! Since it is the week of Memorial Day and I am feeling festive I chose Red, White, and Blue paint.
NOTE: Even though the shellac is food safe, I wouldn't recommend you let your kids use these spoons as a teething toy or anything. There is still paint under the layer of shellac.
So to wrap it up I want to tell you what I learned from this project that other blogs won't tell you! First, this is a fairly easy project, but it requires a lot of patience as it takes awhile to complete. Second, make absolutely sure that everything is dry before you go on to the next step. There is nothing worse than getting 4 steps in only to have to go back to the beginning. Lastly, have fun! Don't stress about it being perfect! If you don't get it right the first time, try it again. When you finally get it the way you want it you'll feel like a superstar!
No comments:
Post a Comment